Beginner Eye Shadow Tutorials: Your First Palette
Ever scrolled through Instagram, seen those stunning eye looks, and thought, “I could never do that?” I used to feel exactly the same way! For years, I stuck to just mascara and eyeliner, convinced eye shadow was too complicated. But when I finally decided to dive in, I discovered that with a few simple tricks and the right guidance, creating beautiful eye looks is totally achievable, even for absolute beginners. This guide breaks down everything you need to know to get started with beginner makeup tutorials eye shadow. (Source: fda.gov)
Contents
- What Essential Tools Do You Actually Need?
- Understanding Your Eyelid: The Canvas
- Basic Eyeshadow Application: A Step-by-Step Guide
- Eyeshadow Color Combinations for Beginners
- Common Eyeshadow Mistakes to Avoid
- Picking Your First Eyeshadow Palette
- Expert Tips for Lasting Looks
- Your Next Steps to Eye Makeup Mastery
What Essential Tools Do You Actually Need?
Before we even touch a brush, let’s talk tools. You don’t need a pro kit to start. Honestly, when I first started, I thought more brushes meant better results. Turns out, quality over quantity is key. For basic beginner makeup tutorials eye shadow, you’ll want a few key items.
First, an eyelid primer. This is non-negotiable for me now. It creates a smooth base, helps colors pop, and prevents creasing. I’ve tested primers from drugstore brands like NYX and higher-end ones, and even the affordable options make a huge difference. A good primer ensures your shadow lasts all day without fading or smudging. In my experience, shadows applied over primer last at least 6-8 hours longer, maintaining their vibrancy from morning coffee to evening plans. The market in 2026 offers primers with added skincare benefits, like hydration or SPF, making them a dual-purpose essential.
Next, brushes. You need:
- A flat shader brush for packing color onto the lid.
- A fluffy blending brush for softening edges and creating a smooth transition.
- A smaller detail brush (optional, but helpful) for the lower lash line or inner corner.
You can find affordable brush sets online or at drugstores that cover these essentials. Brands like Real Techniques or E.l.f. offer great value. Many brands now also offer vegan and cruelty-free brush options, aligning with ethical beauty choices that have become more prominent. Look for brushes with densely packed bristles for powder application and softer, airier bristles for blending.
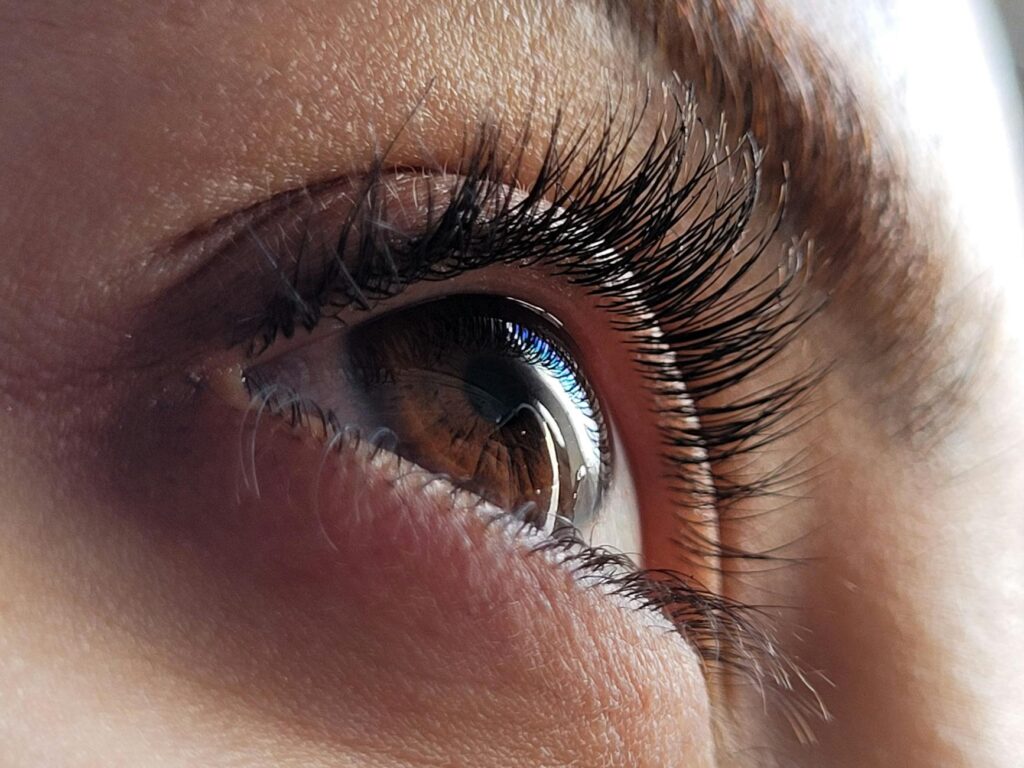
Understanding Your Eyelid: The Canvas
Think of your eyelid like a tiny canvas. Knowing its different parts helps you place colors strategically. The main areas to focus on are:
- The Lid: The main flat area from your lash line to the crease.
- The Crease: The socket line where your eyelid folds. This is where you’ll add depth and dimension.
- The Brow Bone: The area just below your eyebrow. A lighter shade here can lift the eye.
- The Outer Corner: The V-shape at the outer edge of your eye. Darker shades here add definition.
- The Inner Corner: The innermost part of your eye. A touch of shimmer here can brighten.
Understanding these zones is fundamental to mastering any of the beginner makeup tutorials eye shadow you follow. It helps you visualize where each color should go for the most flattering effect.
Basic Eyeshadow Application: A Step-by-Step Guide
Let’s get to the actual application. This is a simple, versatile technique perfect for beginners. We’ll use a two-shade approach: a lighter shade for the lid and a slightly darker shade for the crease and outer corner.
Step 1: Prime Time. Apply a thin layer of eyelid primer all over your lid, up to the brow bone. Let it dry for about 30 seconds.
Step 2: Lid Color. Using your flat shader brush, pick up a light to medium neutral shade (like a soft brown, taupe, or champagne). Pat this color all over your eyelid, from the lash line up to the crease. Don’t swipe; patting helps the pigment adhere better.
Step 3: Crease Definition. Now, take your fluffy blending brush. Dip it lightly into a slightly darker shade than your lid color (a medium brown or a warm-toned shade works well). Gently sweep this color back and forth in your crease using windshield-wiper motions. Start softly; you can always add more. The goal here is to create a subtle shadow that gives your eye dimension.
Step 4: Outer Corner Depth. With the same blending brush or a slightly smaller one, pick up a bit of an even darker shade (a deep brown or a soft black/grey). Focus this color on the very outer corner of your eye, in a ‘V’ shape. Blend it inward slightly, connecting it with the crease color. This adds definition and makes your eyes appear larger.
Step 5: Blend, Blend, Blend! This is the most important step. Use your clean fluffy blending brush to soften any harsh lines between the colors. Go over the crease and the edges where the colors meet. Blend in small, circular motions. Good blending is what makes beginner makeup tutorials eye shadow look polished and professional.
Step 6: Highlight (Optional). A touch of light, shimmery shade in the inner corner and just under the arch of your brow bone can open up your eyes and add a nice finish. For 2026, consider a subtle iridescent shade for a modern touch.
Step 7: Lower Lash Line (Optional). Use a small brush or even your finger to lightly sweep a bit of the crease or outer corner shade along your lower lash line for added balance. Smoke it out gently.
Step 8: Eyeliner & Mascara. Finish with your favorite eyeliner (a thin line is great for beginners) and a few coats of mascara.
Don’t be afraid to over-blend! It’s better to blend too much than too little. Soft, smooth transitions are key to a well-applied eye shadow look, especially for beginners. If you accidentally blend too much color away, just reapply a little to the lid or crease and blend again.
Eyeshadow Color Combinations for Beginners
Choosing colors can feel overwhelming, but sticking to neutrals is a fantastic starting point. Here are some easy-to-wear combinations:
- Soft Browns & Creams: A light cream or champagne on the lid with a medium soft brown in the crease. This is universally flattering.
- Taupes & Greys: A light shimmery taupe on the lid with a slightly deeper, matte taupe or a soft grey in the crease. Great for cooler skin tones.
- Warm Terracottas & Peaches: A peachy champagne on the lid with a warm terracotta or muted orange in the crease. Adds warmth and brightness.
- Monochromatic Looks: Using different shades of the same color family. For instance, a light rose gold on the lid and a deeper rose or mauve in the crease.
When selecting your first palette, look for one that includes a range of these neutral tones. Many beginner-friendly palettes now offer a curated selection of mattes and shimmers, making it easier to create multiple looks.
Common Eyeshadow Mistakes to Avoid
Even with the best beginner eye shadow tutorials, some common pitfalls can make a look less polished. Avoid these:
- Harsh Lines: The biggest giveaway of an amateur application. Always blend edges until they are soft and seamless.
- Too Much Product: Starting with too much shadow on your brush means more blending and a higher chance of fallout. Tap off excess product.
- Wrong Brush for the Job: Using a fluffy brush to pack color onto the lid won’t give you the intensity you want. Use a flat shader brush for that.
- Ignoring Creasing: If your shadow creases within an hour, you likely skipped primer or didn’t set it properly.
- Forgetting Primer: As mentioned, primer is essential for color payoff and longevity.
Picking Your First Eyeshadow Palette
Your first eyeshadow palette should be a workhorse, offering versatility without being overwhelming. When shopping in 2026, consider these factors:
- Neutral Tones: Look for a palette rich in browns, beiges, creams, and soft greys. These are the building blocks for most eye looks.
- Mix of Finishes: A good starter palette includes matte shades (for crease, definition, and base) and a few shimmers or satins (for the lid and inner corner highlight).
- Quality over Quantity: A smaller palette with well-pigmented, blendable shadows is better than a large one with chalky formulas. Read reviews!
- Brand Reputation: Opt for brands known for good quality eyeshadows, whether drugstore or high-end. Many newer indie brands also offer excellent, ethically produced options.
- Color Story: Ensure the shades within the palette complement each other. Look for palettes that offer a few lighter shades, a few mid-tones, and a couple of darker shades for depth.
Brands like ColourPop, Makeup Revolution, and Anastasia Beverly Hills often have excellent beginner-friendly palettes. Many brands now clearly label their palettes as “neutral,” “warm,” or “cool” toned, which can be very helpful.
Expert Tips for Lasting Looks
Want your eye makeup to stay put from your morning commute to your evening plans? Here are some tips:
- Always Use Primer: I can’t stress this enough. It’s the foundation for long-lasting shadow.
- Apply Shadow in Layers: Build up color gradually rather than applying a heavy amount at once. This allows for better control and blending.
- Set Your Shadow: After applying your cream or vibrant shadow, a light dusting of a translucent setting powder over the top can help lock it in.
- Consider Eyeshadow Sticks: For ultimate ease and longevity, eyeshadow sticks or cream shadows are fantastic. They often have built-in primers and are smudge-proof once set. Many new formulas in 2026 are designed for extra staying power.
- Seal with Setting Spray: A final mist of setting spray can help meld all your makeup together and increase its wear time.
Your Next Steps to Eye Makeup Mastery
You’ve got the basics down! From here, you can begin to experiment. Try incorporating a pop of color on your lower lash line, experimenting with different blending techniques, or exploring different brush shapes. Watch tutorials from makeup artists you admire, paying attention to how they place and blend shadows. Practice is key – the more you do it, the more intuitive it becomes.
Consider investing in a palette with a few more adventurous shades once you’re comfortable. The world of eye shadow is vast and fun. Remember, makeup is about self-expression and creativity, so have fun with it!
Frequently Asked Questions
Do I need a special brush for each step?
Not necessarily for beginners! A good flat shader brush for applying color and a fluffy blending brush for softening edges will cover most of your needs. You can often use your finger for packing shimmer onto the lid as well. As you progress, you might explore smaller detail brushes for more precise work.
What’s the difference between matte and shimmer eyeshadow?
Matte eyeshadows have no shine and are great for creating depth, definition, and a natural-looking base. They are perfect for the crease and outer corner. Shimmer or satin eyeshadows have a subtle sheen and are ideal for highlighting the lid, inner corner, and brow bone to add dimension and brightness. For 2026, pearlescent and duochrome finishes are also trending for a more modern shimmer effect.
How do I choose eyeshadow colors that complement my eye color?
General guidelines suggest using complementary colors: blues and purples for brown eyes, warm browns and coppers for blue eyes, and greens or purples for green eyes. However, the most important factor is what colors you love and feel confident wearing. Neutrals are always a safe and stylish bet for any eye color.